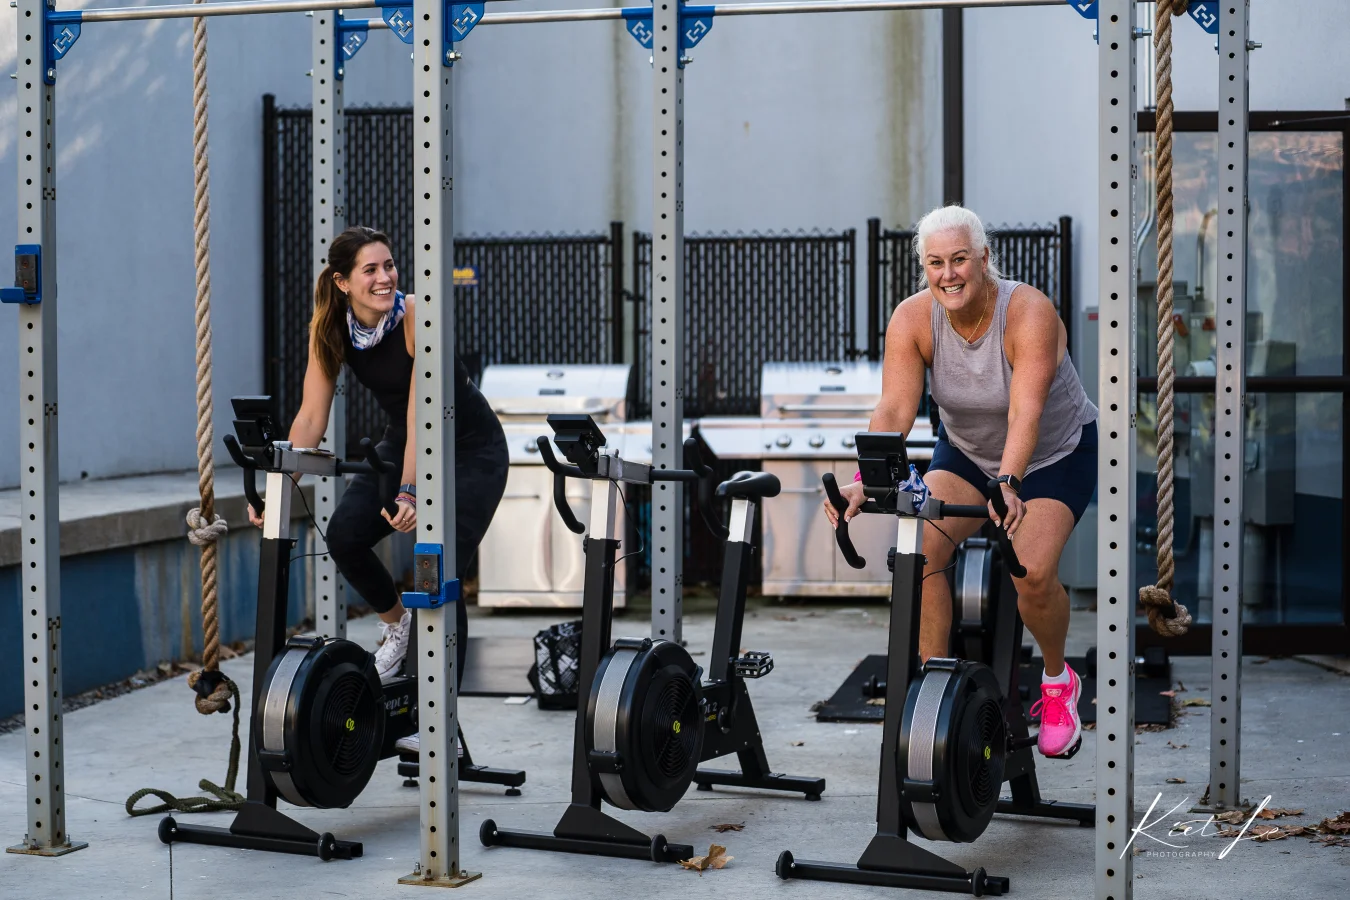
A proper bike fit is the single most impactful upgrade any cyclist can make — the right fit improves power output, reduces injury risk, and transforms long rides from a battle into a pleasure. Whether you ride a road bike, gravel bike, or mountain bike, dialling in your saddle height, handlebar position, and cleat alignment is essential before logging serious kilometres.
Why Bike Fit Matters
Most cyclists underestimate how much an ill-fitting bike costs them. A saddle even 5 mm too high creates hip rocking that wastes power and stresses the lower back. Handlebars too far away cause shoulder and neck strain. Misaligned cleats lead to knee pain within weeks. Research published in the Journal of Sports Sciences found that optimised bike position improved cycling economy by up to 8 % in recreational riders — essentially free speed with no extra training.
Beyond performance, fit is a safety issue. A rider in pain shifts position constantly, reducing control. Investing two hours in a proper fit pays dividends for years.
Saddle Height: The Foundation
Saddle height is the most critical measurement. The two most reliable methods are the heel method and the LeMond method.
| Method | How to Measure | Best For |
|---|---|---|
| Heel Method | Place heel on pedal at 6 o'clock; leg should be fully straight | Quick DIY check |
| LeMond Method | Inseam (cm) × 0.883 = saddle height from BB centre | Road and gravel bikes |
| Holmes Angle | Knee angle 25–35° at bottom dead centre (requires goniometer) | Professional fitting |
Once set, check from behind while pedalling: hips should stay level with zero rocking. If you notice knee pain behind the cap, lower the saddle 2–3 mm at a time until it resolves.
Handlebar Position: Reach and Drop
Handlebar height and reach affect your aerodynamics, comfort, and handling. Beginners generally benefit from higher bars (less drop from saddle to bars) while experienced riders can tolerate a more aggressive position for better aerodynamics.
Tip: Start with your handlebars level with or slightly below your saddle. Only lower them further once your core strength and flexibility improve enough to hold the position comfortably for an hour.
Reach — the horizontal distance from saddle to bars — should allow a slight bend in the elbows when on the hoods. If your arms are locked straight, the stem is too long. If your knees hit your elbows at the top of the pedal stroke, the reach is too short.
Cleat Alignment: Protect Your Knees
Cleat position directly affects knee tracking and power transfer. The ball of your foot (first metatarsal head) should sit directly over the pedal axle. Rotational alignment — the float angle — should match your natural foot angle. Most riders do well with a cleat offering 4–6° of float to allow natural knee movement.
Signs of misaligned cleats include burning sensation on the outside of the knee (cleats too toed-in) or inside knee pain (cleats too toed-out). Make small 1–2 mm adjustments and ride 30 minutes between each change.
For a comprehensive approach to improving your cycling performance alongside a proper fit, see our Complete Guide to Cycling Endurance.
Overlay Your Running Stats
Add your pace, distance, and heart rate to your running photos and videos — share your stats the way the pros do.
Try PaceOverlay Free →Frequently Asked Questions
How much does a professional bike fit cost?
Professional bike fits typically range from $150 to $400 USD depending on the fitter's experience and the technology used (motion capture, pressure mapping). Most cyclists recoup that investment through avoided physio bills and improved performance within a season.
How often should I get a bike fit?
Get a fit whenever you buy a new bike, change a major component (saddle, stem, cranks), experience persistent pain, or after a significant change in flexibility or body weight. A yearly check-in is worthwhile for serious riders.
Can I do a bike fit myself?
You can handle the basics — saddle height and fore-aft position, rough handlebar height — with a friend, a plumb line, and a tape measure. However, cleat alignment and full-body assessment are best done by an experienced fitter or at minimum recorded on video so you can review your position objectively.
Final Thoughts
Mastering bike fit guide takes deliberate practice, but the payoff — better efficiency, higher power output, and more enjoyment on the bike — is worth every session. The guidance here on Why Bike Fit Matters, Saddle Height: The Foundation gives you a solid foundation to build from.
Apply one or two takeaways from this guide on your next ride. Small, consistent improvements compound into significant gains over a season. Stay patient, trust the process, and enjoy the journey.