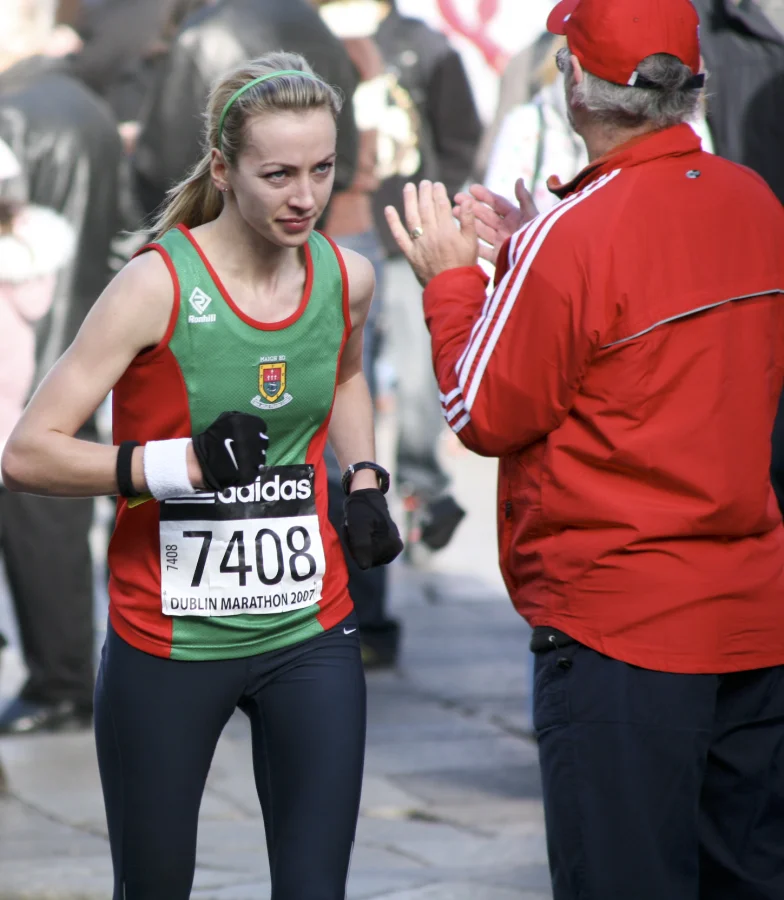
You trained for months. You crossed the finish line. And all you have is a sweaty selfie and a Strava screenshot. Sound familiar?
The best marathon recap videos — the ones that rack up thousands of views and get shared across running groups — tell a story. They show the crowd thinning at mile 18, the wall hitting at mile 22, and the surge at the finish. With a live pace overlay running the whole time, viewers feel like they ran every step with you.
This guide shows you exactly how to build that video, from the footage you need to collect to the final upload.
Why Marathon Recap Videos Perform So Well
Marathon content has built-in emotional stakes. Every runner watching has been there — or wants to be there. The combination of a familiar course, visible pace data, and a personal story creates something irresistible: a video people can't skip.
Videos that include live pace overlays consistently outperform plain running footage because they give viewers something concrete to track. When they see your pace drop to 4:30/km at the final kilometer, they feel the sprint. When they see it climb to 6:00/km at mile 20, they feel the wall.
What to Film During the Race
Great race recap videos are made before the race, not in the edit. Here's what to collect:
Primary Running Footage
- Start corral footage — the crowd, the atmosphere, the nervous energy
- Mile markers — 5K, 10K, halfway, and the final stretch are all highlights worth capturing
- Challenging sections — hills, bridges, or long straight sections where pace typically drops
- The finish line — even 10 seconds of finish-line footage anchors the whole story
B-Roll and Supporting Shots
- Your race bib before the start
- Shoes on the race morning
- Crowds cheering along the course
- Your GPS watch showing the splits
- Post-race medal / finish photo
💡 Filming tip: Mount your phone on an arm band or chest mount and start a 30-minute recording at the start. You'll capture continuous footage that syncs perfectly with your GPX data — no gaps, no missing segments.
Getting Your GPX Data from Race Day
Your GPS watch records everything automatically. After the race, export your GPX file from your watch platform before editing your video — you'll need it to add the live pace overlay.
| Watch Platform | Export Method |
|---|---|
| Garmin Connect | Activity → Gear icon → Export to GPX |
| Strava | Activity → … → Export GPX |
| Apple Watch | Sync to Strava, then export GPX |
| Suunto | Diary → Activity → Export → GPX |
| Polar Flow | Diary → Training → Export → GPX |
For full export instructions, see our guide: How to Export GPX from Garmin, Strava & Apple Watch.
How to Structure Your Recap Video
The best marathon recap videos follow a simple three-act structure:
Act 1:The Setup (0:00–0:30)
Pre-race atmosphere, your bib, the corral. This is where you establish the stakes. A title card with the race name and date helps viewers orient themselves immediately. If you had a target time, show it here.
Act 2:The Race (0:30 to near end)
The main body. Cut between your running footage and key moments — mile markers, hills, the halfway point. This is where the live pace overlay carries the story. Let the data speak: viewers see exactly where you were comfortable and where you weren't.
Don't try to show every kilometer. Pick 6–8 clips that represent the narrative arc: strong start, settled middle, difficult patch, and the final push.
Act 3:The Finish (final 30 seconds)
The emotional payoff. The finish line, your official time, the medal. If you have a chip time result screenshot, include it. End with something personal — your reaction, a freeze frame on the finish clock.
Adding the Live Pace Overlay
Once you have your footage edited down to a solid cut, this is where PaceOverlay transforms it from a home video into something broadcast-quality.
Overlay Your Running Stats
Add your pace, distance, and heart rate to your running photos and videos — share your stats the way the pros do.
Try PaceOverlay Free →Step 1:Prepare Your Video
Export your edited video as MP4 (H.264). If you're working from raw footage without editing, that works too — PaceOverlay will apply the overlay to whatever you upload.
Step 2:Upload to PaceOverlay Video Overlay
Go to PaceOverlay Video Overlay, create an account, and upload your video and GPX file. The sync is automatic if your GPS watch and camera were recording at the same time.
Step 3:Choose Your Template
For marathon recap videos, the route map overlay is especially powerful — it shows your position on the course as the video plays. Choose a template that includes the animated map. Pro templates include race-specific layouts with pace, distance, heart rate, and the animated route all visible simultaneously.
Step 4:Configure and Render
Set your output orientation (16:9 landscape for YouTube, 9:16 portrait for Reels/TikTok), choose 1080p, and submit. You'll receive an email when the render is complete.
Titles and Captions That Drive Views
The video title is as important as the content. Specific titles outperform generic ones every time:
- Generic: "My Marathon Race Day"
- Better: "Running My First Sub-4 Marathon — Boston 2026 Race Recap"
- Best: "Boston Marathon 2026 — Sub-4 Hour Attempt | Live Pace Overlay"
Include the race name, year, and your goal time. Search traffic comes from people looking up specific races — you want your video to appear when someone searches "Boston Marathon 2026 recap."
Where to Post Your Marathon Recap
| Platform | Format | Length | What Works |
|---|---|---|---|
| YouTube | 16:9 landscape | 5–15 minutes | Full race story, searchable |
| Instagram Reels | 9:16 portrait | 60–90 seconds | Highlight reel, final km |
| TikTok | 9:16 portrait | 30–60 seconds | Most dramatic 60 seconds |
| Strava | Any | Any | Community engagement, kudos |
Create different edits for different platforms. Your 10-minute YouTube cut tells the full story. Your 60-second TikTok cut is just the wall and the finish — pure drama, no buildup.
Conclusion
A marathon is 26.2 miles of story. Don't let it end as a finish-line selfie. With continuous footage, a clean GPX export, and a live pace overlay, you can create a recap video that captures what it actually felt like to run that race — and gives viewers a front-row seat to every split, every struggle, and every surge to the finish.